
Appearance
Quote to Cash
 quote-to-cash guide
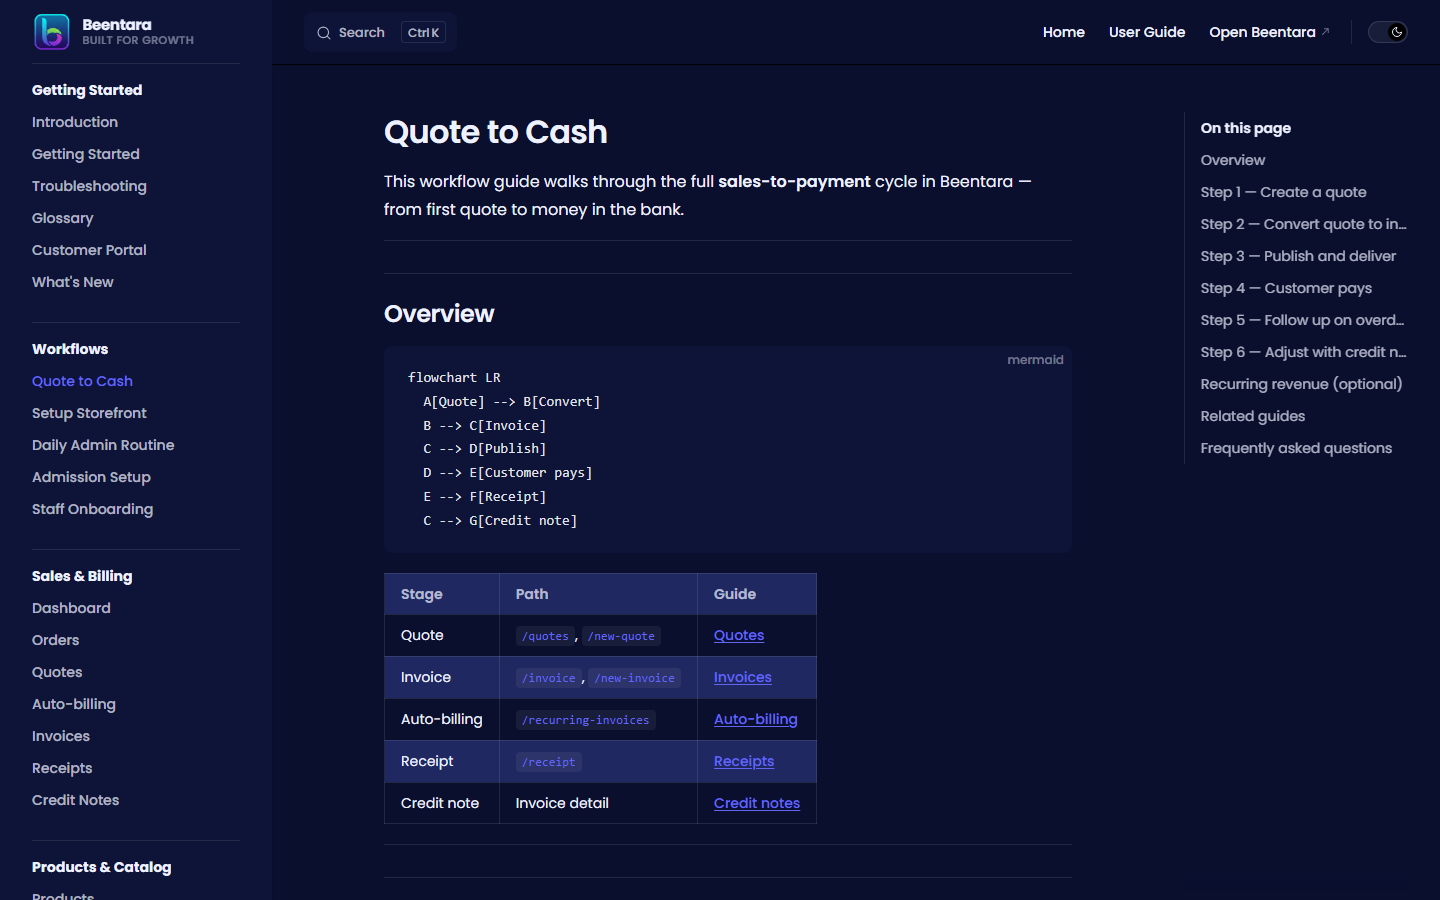
This workflow guide walks through the full sales-to-payment cycle in Beentara — from first quote to money in the bank.
Overview
mermaid
flowchart LR
  A[Quote] --> B[Convert]
  B --> C[Invoice]
  C --> D[Publish]
  D --> E[Customer pays]
  E --> F[Receipt]
C --> G[Credit note]| Stage | Path | Guide |
|---|---|---|
| Quote | /quotes, /new-quote | Quotes |
| Invoice | /invoice, /new-invoice | Invoices |
| Auto-billing | /recurring-invoices | Auto-billing |
| Receipt | /receipt | Receipts |
| Credit note | Invoice detail | Credit notes |
Step 1 — Create a quote
- Go to Sales → Quotes (
/quotes). - Click New quote →
/new-quote. - Select customer, add line items, set validity dates.
- Save draft while preparing, or Send quote via email/WhatsApp when ready.
Skip quotes for repeat customers
You can create an invoice directly from Sales → Invoices → Create Invoice if no quote is needed.
Package options
If the quote has alternatives or optional add-ons, send the portal link so the customer can Save my choices before you convert. See Quotes — package options and Customer portal.
Step 1b — Customer selects options (portal)
When the quote includes option groups:
- Customer opens the quote from the portal or email link.
- Picks one option per group and any optional add-ons.
- Clicks Save my choices — total updates; you are notified.
- Customer can Download PDF that lists only selected lines.
Then proceed to convert when the customer confirms verbally or via portal.
Step 2 — Convert quote to invoice
When the customer approves:
- Open quote detail (
/invoice-detail/:id). - Click Convert to invoice.
- Beentara copies line items — review totals and payment terms.
- Publish to send the invoice.
Step 3 — Publish and deliver
On the invoice form or detail:
| Action | Result |
|---|---|
| Save draft | Internal only — no email |
| Publish | Sends email/WhatsApp; generates pay link if Razorpay is configured |
| Resend | On invoice detail — resend to customer |
Before you publish: configure Settings → Razorpay and SMTP email.
Step 4 — Customer pays
Online: Customer uses the pay link in the invoice email.
Offline (cash, UPI, bank transfer):
- Open invoice detail.
- Click Record payment.
- Beentara opens Receipts with prefilled amount → save receipt.
Pending balance updates automatically.
Step 5 — Follow up on overdue
- Open Invoices → Overdue invoice tab.
- Use Resend on invoice detail.
- Share customer portal link (overflow menu on invoice list) for self-service access.
Step 6 — Adjust with credit notes
If you need to reduce balance after publishing:
- Open invoice detail with remaining balance.
- Click Issue credit note.
- Credit appears on Credit Notes list.
Credit notes are issued from invoice detail, not the credit notes list alone.
Recurring revenue (optional)
For retainers or subscriptions:
- Sales → Auto-billing (
/recurring-invoices). - Create a schedule with frequency, customer, and line items.
- For each published run: tick Email invoice…, then Also send invoice via WhatsApp if you want WhatsApp (AiSensy setup). Payment reminders stay on email.
Related guides
Frequently asked questions
Can I invoice without a quote?
Yes — use Create Invoice directly from /invoice or /new-invoice.
Why is there no pay link?
Configure Razorpay in Settings and Publish the invoice (drafts have no pay link).
How do I record partial payment?
Create a receipt for the partial amount — invoice Due amount updates until fully paid.